Floor Stand Setup
How to set up and install our black floor stands.
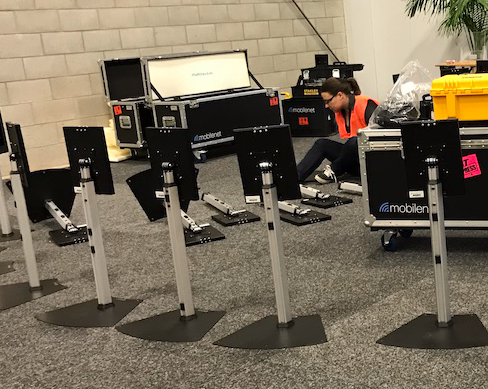
Unpack everything
The stands will have been sent to you in a Pelican carry case (1-2 stands), or in a wheeled road case (4+) stands.
At the top of the case will be the stand uprights; at the bottom of the case will be the stand bases. A layer of foam will separate the bases from the uprights. Unpack everything before you start.
Remove bolts from each upright
At the bottom of each upright are 4x bolts. Use a screwdriver, or drill, to remove these bolts. Keep the bolts handy, we'll need them again soon.
Attach the base to the upright
Use one hand to hold the end of the upright, and the other hand to align the base. Make sure the base is orientated correctly: the iPadHire.co.nz sticker should be facing the top of the upright (away from the camera), and the four rubber feet facing the floor (towards the camera).
We find it's easiest if you hand-thread the bolts at first, and then use a screwdriver or power drill to tighten them.
If you are using a power drill, please use a low torque setting (we use a torque setting of "5" on our drills that have a range of 1-20). If you use a high torque setting you run the risk of stripping the bolt heads and then being unable to remove the base from the upright when it comes time to pack up!
Once you've got the base attached flip the stand upright.
Extend the upright
Use the Allen key to loosen the two bolts on the back of the upright. The stand should slide upwards easily and freely ... extend it all the way up, and hold the stand up while you tighten the two bolts again.
Install the iPad
We usually pre-install the iPad in the stand for you, but if we haven't:
- Unlock the enclosure
- Place the four rubber feet in the corners of the enclosure (clockwise from top-left: C, D, E, F)
- Place the iPad between the four rubber feet
- Poke the Lighting USB cable through the hole in the bottom of the enclosure, and connect to the bottom of the iPad
Install the USB cable
The USB cable will be clipped down by 3 or 4 clips along the back of the stand.
One or two small black clips hold the cable to the top-half of the stand, and two large black clips (pre-installed on the stand) hold the cable to the lower-half of the stand.
Start by popping the black clips off the bottom of the stand. You can do this (carefully) by using a screwdriver or an Allen key.
Then, hold the USB cable against the back of the stand while pushing the clips onto the stand over the USB cable. You'll feel the clips click into place.
You're done
Any questions? Get in touch.